Beauty & Glamour · 4 min read
How Lighting Changes a Fashion Photograph
Understand direction, softness, and color before reaching for more equipment.
Published By The Cath Morymore Journal
Light Is Part of the Styling
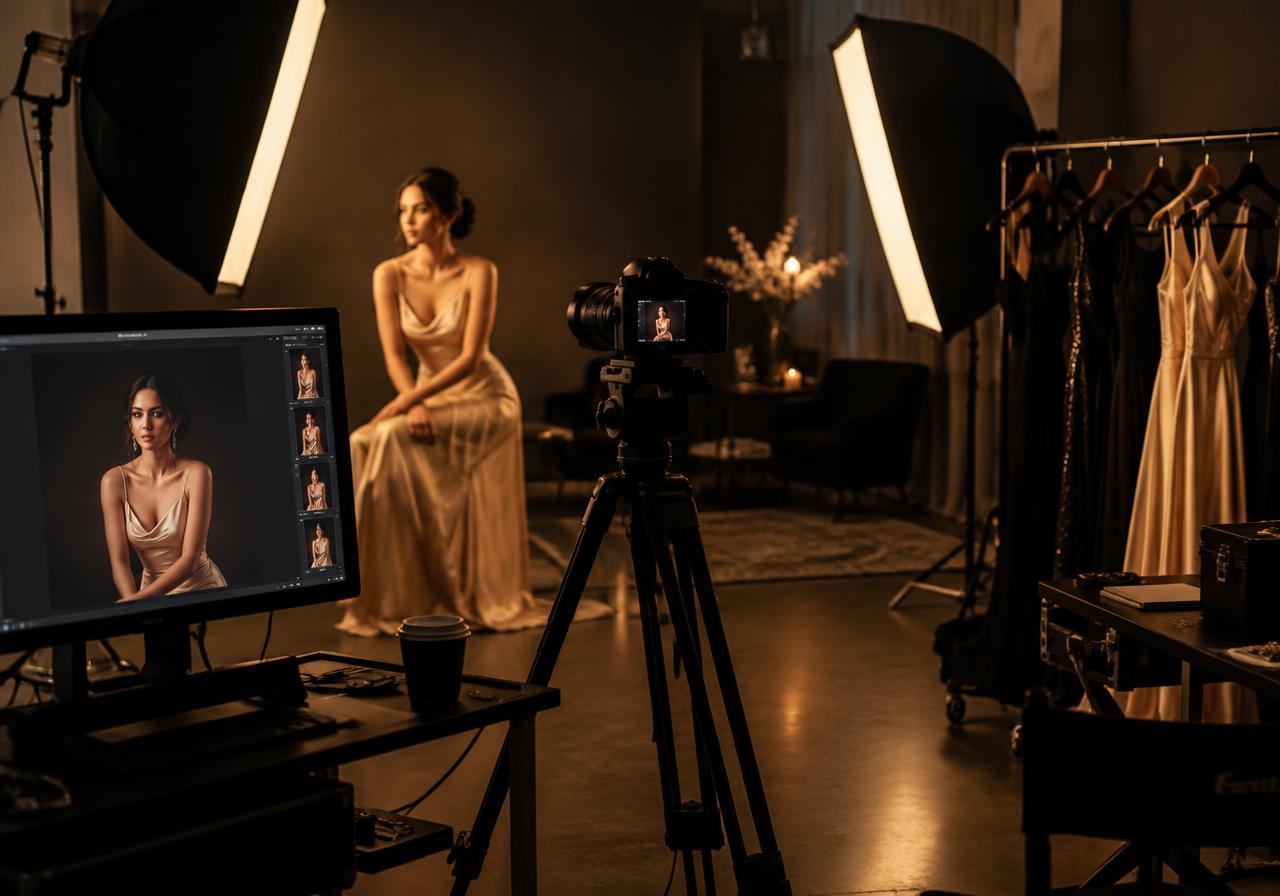
Lighting can make the same outfit appear crisp, romantic, graphic, or understated without changing a single garment. It determines which surfaces attract attention and which details disappear. This article explains principles you can explore with a camera or phone. Real-world testing remains the clearest way to understand how light behaves around actual clothing and people.
Direction Builds Shape
Front light often reduces visible shadows and can make garment details easy to read, though it may also flatten the sense of volume. Side light creates stronger differences between illuminated and shaded areas, helping folds and texture stand out. Backlight can separate a silhouette from its surroundings, but may leave the front of the outfit too dark without additional illumination or reflected light. Begin by moving the subject relative to a window rather than changing several settings at once. Watch where shadows fall across the face, neckline, sleeves, and lower half.
Softness Depends on Relative Size
A light source that appears large from the subject's position generally produces softer shadow edges than one that appears small. This is why a broad window can create a gentle transition, while direct sun often produces a sharper one. Distance matters because it changes the apparent size of the source. Diffusion can soften light, but its effect depends on the setup rather than the material's name alone. For a simple experiment, compare open shade with direct sunlight at the same location. Observe the shadow edges before deciding which result suits the clothing.
Texture Needs the Right Angle
Light skimming across a surface can reveal weave, pleats, embroidery, and small changes in depth. That is useful when texture is the subject, but it may also emphasize creasing you would rather keep secondary. Reflective materials require particular care because their appearance depends on what they reflect, including the shape and placement of the light source. Move the light, camera, or garment slightly and compare the result. If photographing a real product, preserve its important details rather than pursuing a dramatic effect that makes the fabric difficult to understand.
Reflective Fabric: Make Small Adjustments
With satin, change one variable at a time: rotate the subject a little, then compare the highlight. A small adjustment can preserve sheen without hiding the fabric’s shape. Keep a reference frame so you can tell whether the garment or only its lighting has changed.
Color Changes the Message
Warm and cool illumination can shift both the atmosphere and the apparent color of an outfit. Mixed sources, such as daylight and an indoor lamp, can create different color casts across one frame. For a straightforward starting point, switch off unnecessary lights and work with a single dominant source. Set white balance deliberately if your camera allows it, and use a neutral reference when accurate garment color matters. Phone screens and editing displays also vary, so avoid promising perfect consistency everywhere. Strong creative color effects belong in clearly mood-led imagery rather than unqualified product documentation.
Protect Important Detail
Exposure influences whether dark tailoring retains texture and pale fabric retains visible structure. Review bright areas and deep shadows, not just the overall impression on the screen. If a white sleeve loses all detail, reduce exposure or soften the contrast in the scene. A white board can bounce some light into shadow areas without introducing another powered source. Keep it securely positioned and out of the subject's path. Editing can refine a balanced file, but it cannot reliably recover information that was never captured, so solve major lighting problems before relying on post-production.
Run a Three-Frame Test
Choose one outfit, a simple background, and a fixed camera position. Make three photographs with the subject facing the window, turned partly sideways, and positioned with the window behind them. Keep framing consistent and note any exposure adjustments. Compare silhouette, fabric texture, facial shadows, and color rather than deciding only which image looks most dramatic. Ask what each version communicates and which details it hides. This small exercise builds a practical lighting vocabulary. Once you can name the effect you want, equipment choices and creative directions become much easier to evaluate.